
In the realm of audio editing, having reliable software that can seamlessly cut and join audio files is essential. AudioKies stands out as one of the best MP3 cutter and joiner software for PC, offering a comprehensive suite of tools designed to make audio editing simple and efficient. Whether you're a podcaster, a music producer, or just someone who enjoys tweaking audio files for personal use, AudioKies has something to offer.
In this tutorial, we'll walk you through the steps to seamlessly merge multiple audio files into a single, cohesive track using AudioKies. Let's get started and unlock the full potential of your audio projects!
Part 1. How to Merge Multiple Audio Files into One
AudioKies' merge feature allows you to seamlessly combine multiple audio tracks into a single cohesive file. With its user-friendly interface, you can easily drag and drop audio files, arrange them in your desired order, and merge them with just a few clicks. AudioKies supports a wide range of audio formats, ensuring compatibility and high-quality output. In this section, we'll walk you through the steps to merge your audio files using AudioKies, enabling you to create smooth, uninterrupted audio tracks effortlessly.
Step 1. Download and Install AudioKies
Click the below button to download AudioKies on your PC or Mac. Once downloaded, open the installer and follow the on-screen instructions to install AudioKies on your computer.


Step 2: Add Music Files to AudioKies Software
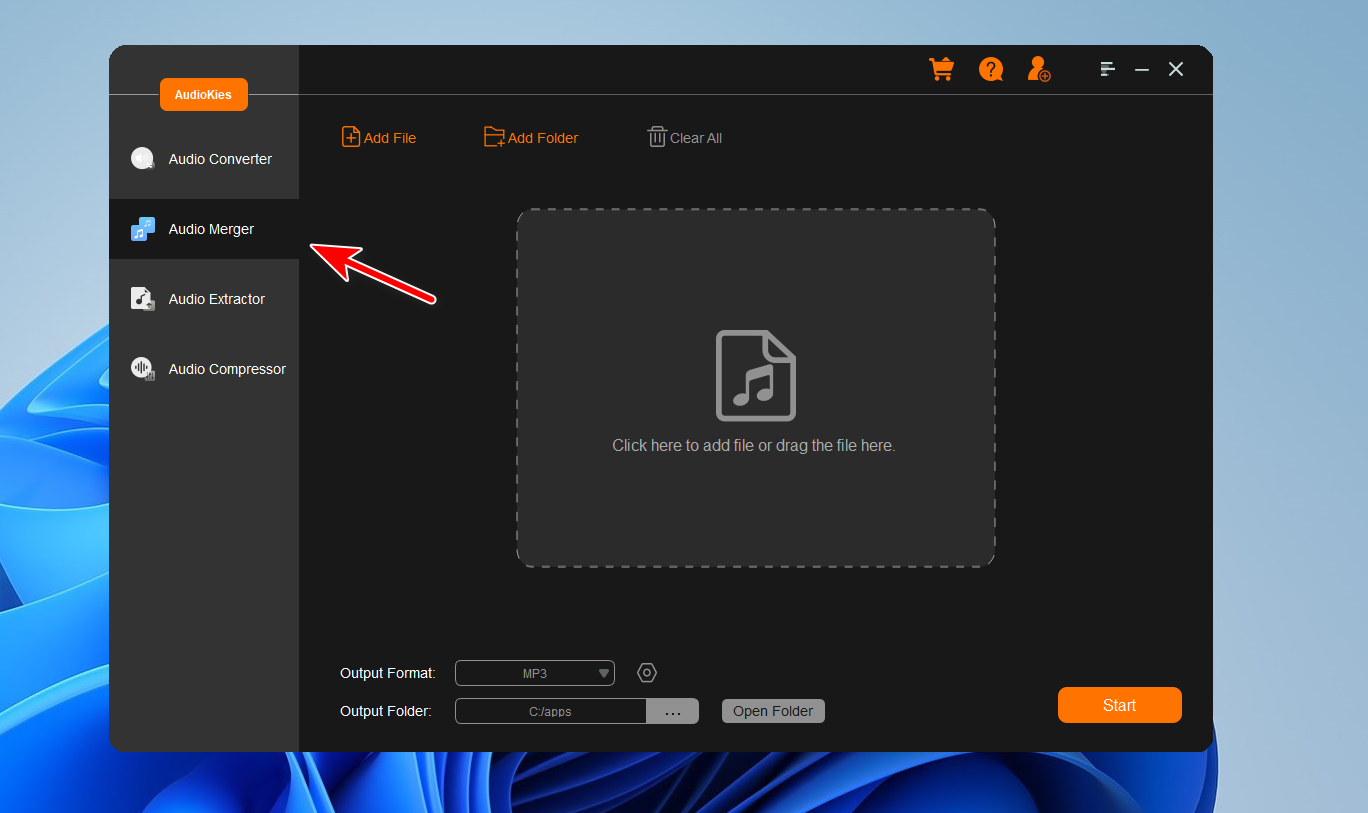
After installation, launch AudioKies by double-clicking the desktop icon. In the main interface of AudioKies, natigate to Audio Merge option fro left sidebar and click on the "Add File" button. A file browser window will open. Navigate to the location of audio files, select them, and click "Open" to add them to the AudioKies Software.
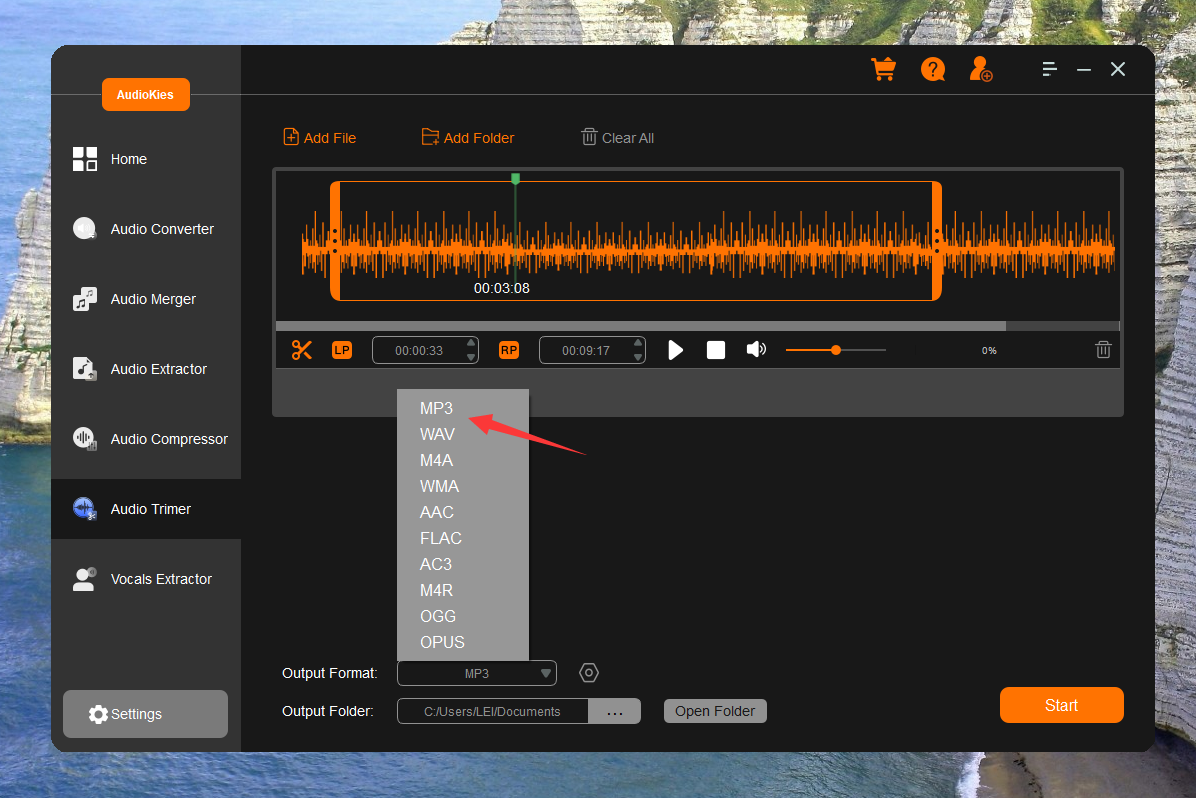
Step 3: Select an Output Format
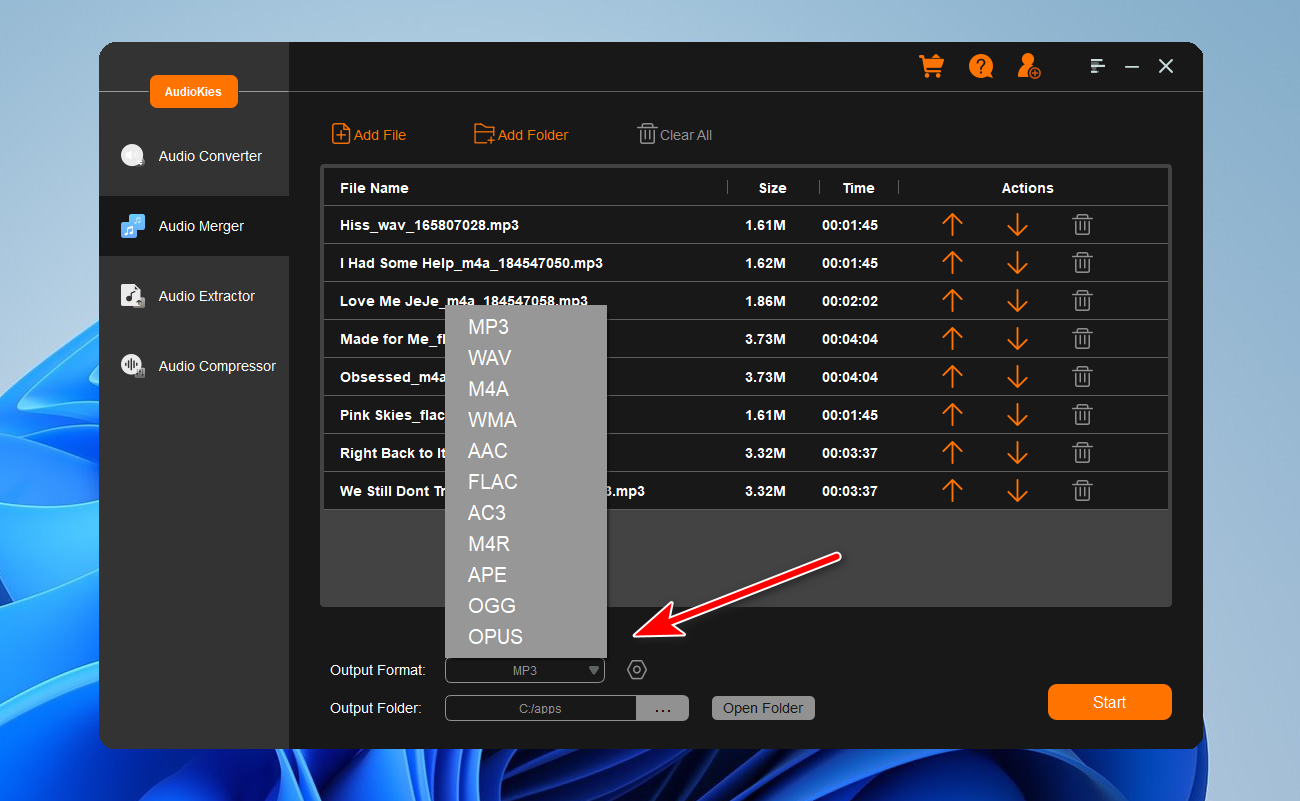
Once your files are added, click on the "Output Format" dropdown menu at the bottom of the window. In the profile list, select a proper audio type as the desired output format.
Step 4. Start Merging Audio Files
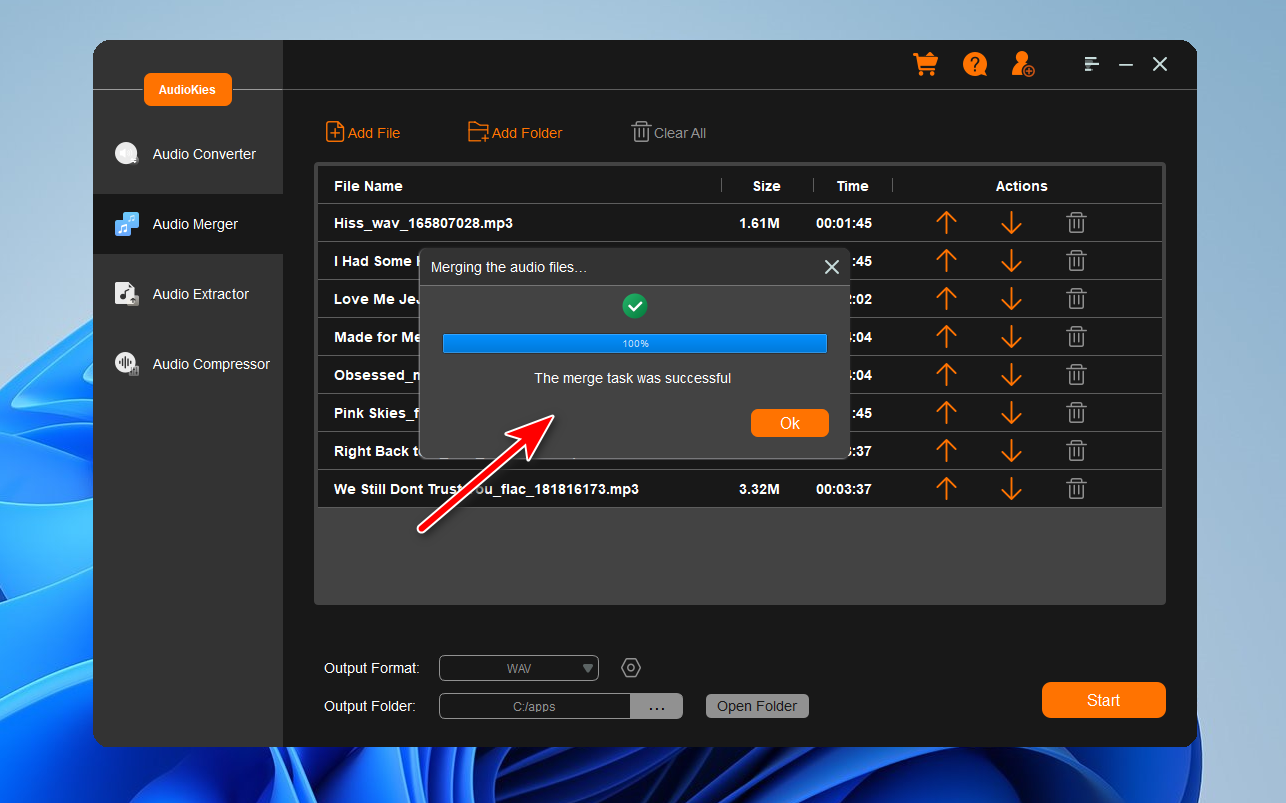
Click the "Output Folder" button and choose a folder where you want to save the converted audio files and click "OK." Once all settings are configured, click the "Start" button to start the merging process.
Part 2. How to Trim An Audio File
Trimming audio files can be an essential task for creating polished audio clips, removing unwanted sections, or just editing recordings to the desired length. AudioKies simplifies this process with its intuitive interface and precise editing tools. Here's a step-by-step guide on how to trim an audio file using AudioKies.
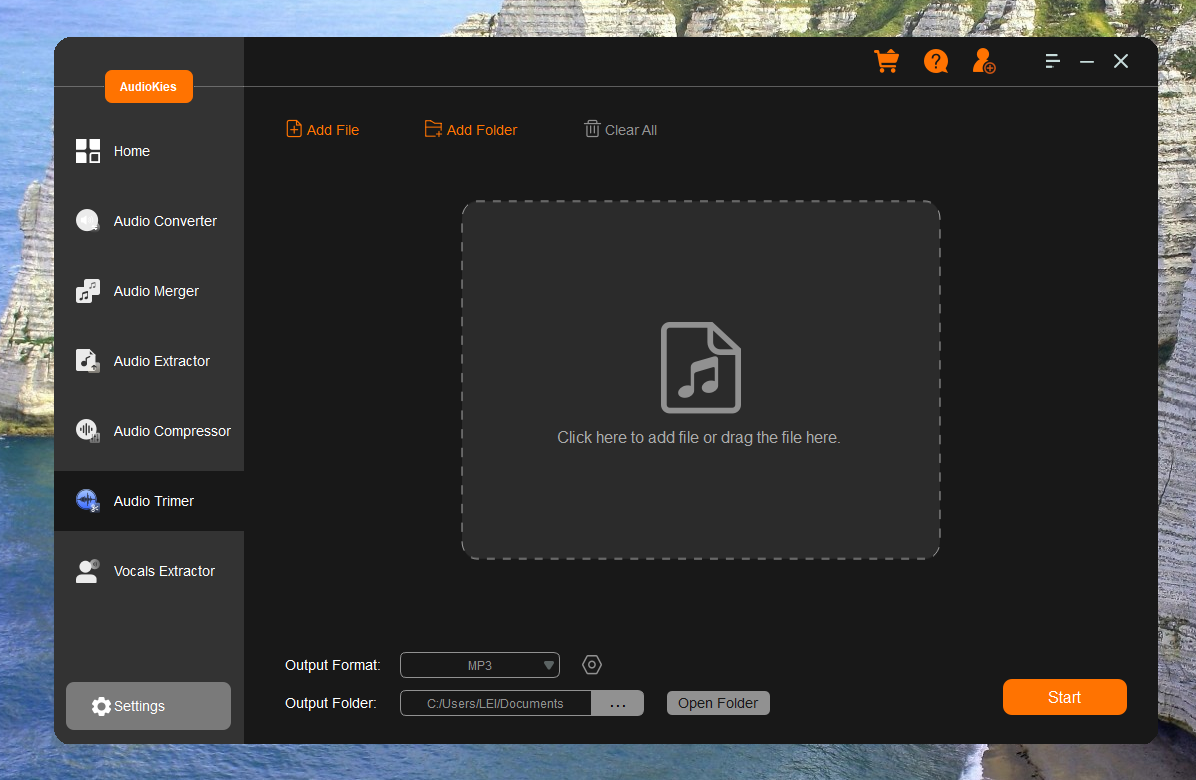
Import Your Audio File:
Click on the “Open” button or drag and drop your audio file into the AudioKies interface.
Navigate to the Section to Trim:
- Use the playback controls to listen to your audio and locate the section you want to trim.
- Drag the playback cursor to the starting point of the section you want to keep.
- Use the handles on the timeline to mark the start and end points of the section you want to retain. Everything outside this selection will be trimmed away.
Once you’ve selected the desired portion, click on the “Trim” button. This action will remove the sections outside your selection.
Summary
Congratulations! You've successfully learned how to merge audio files using AudioKies. With its user-friendly interface and powerful merging capabilities, AudioKies streamlines the process, allowing you to focus on creating the perfect sound. Whether you're compiling a playlist, creating a podcast, or working on a professional audio project, AudioKies provides the tools you need to achieve high-quality results effortlessly!